EXTING DENTURE PHOTOS: the patient presented with an ill fitting mandibular implant retained (snap in) denture. It was likely her immediate temporary denture and it still had a very old soft liner on the intaglio surface; as well as the radio-opaque markers used to plan the implant placement. The restorative space inadequate as well. Her main complaint, that she said she has had since day one, is the darkness seen through the denture where the locator attachment is located.
PREPARATION: We had to remove the old soft liner and create room for the denture to seat passively over the locator abutments and housings. I would never suggest processing an overdenture with the attachments in the processing. I will always recommend performing a chair-side pick up of the attachments. It is the only way to ensure the tissue and implants are working in harmony.

INCREASING THE VERTICAL DIMENSION: First determine the proper vertical dimension using a two point nose and chin test as well as phonetics and esthetics. In this case based on the mandibular lip position with relation to the mandibular incisor incisal edge position I knew that I could increase the vertical dimension at least 2 mm. I use Triad Trutray for my vertical stops. It has a great consistency that will allow good control of increasing the vertical dimension. I will make little balls of triad that are about 10mm in diameter and place them in at least three locations forming a tripod. I will then insert the denture into the patients mouth. Prior to having them just close together I instruct them to not bite down hard. They need to follow my instructions by relaxing and tapping their teeth together lightly and close until I say stop. While doing this I evaluate the vertical dimension using my two point record previously obtained. Once the patient has reached a comfortable vertical dimension and occlusion I remove the denture and trim the stops to about 5 mm by 5 mm squares. Carefully doing so to not remove them. Once they are trimmed I'll cure them. After I have the stops prepared I'll then apply PVS adhesive to the entire intaglio surface, let it set for 5 minutes. Then I'll apply heavy body PVS material to start the reline process.

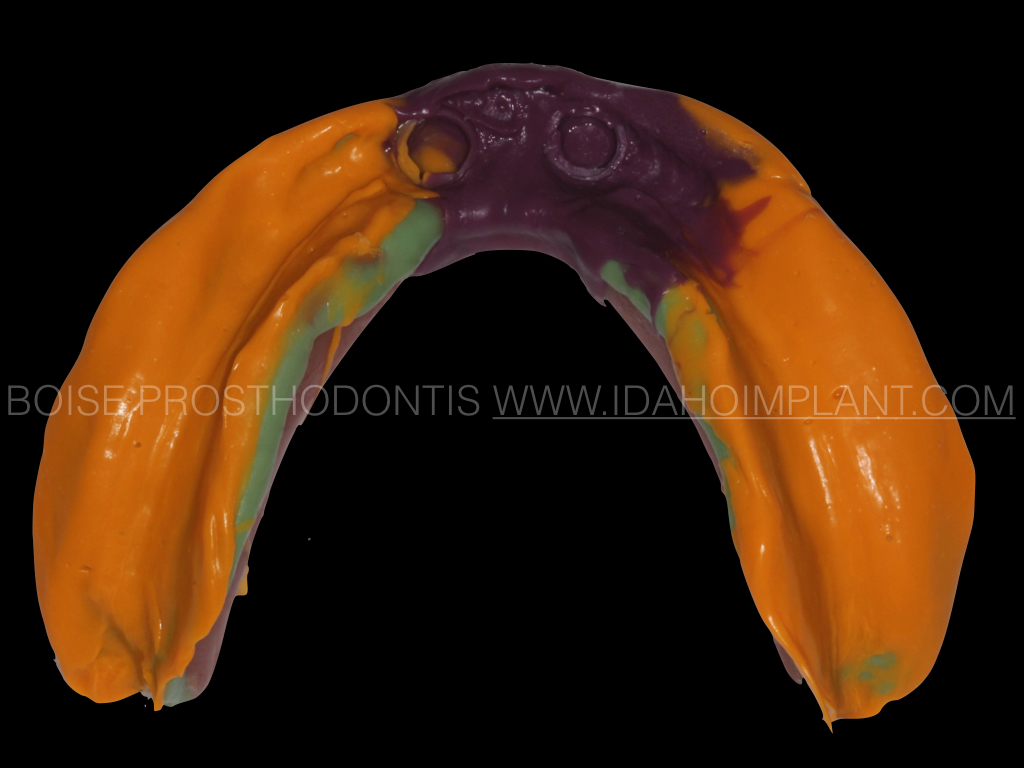
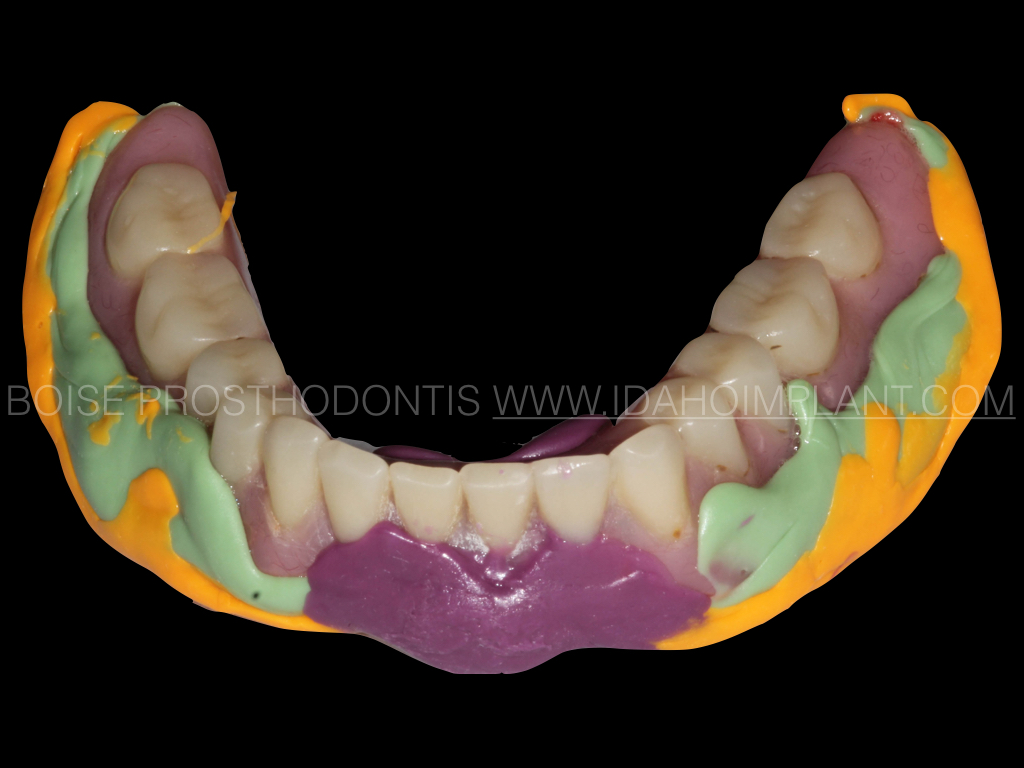
RELINE IMPRESSION: I apply heavy body PVS impression material to the entire intaglio surfaceof the denture. I have the patient's mouth dried and I carefully insert the denture with the PVS material. I instruct the patient to lightly close together until their teeth feel comfortably together. I'll then instruct them to work through a series of mouth movements to accomplish accurate border molding.
RELINE IMPRESSION WASH: After I have used the heavy body material for the initial reline. I'll carve out any areas that I feel need to be relieved and washed with a less viscous material to improve the accuracy of the impression. In this scenario I used light body for the posterior and medium body for the area immediately around the implants. One can see that the new dentures shape is quite a bit different than the original dentures shape. It is important to explain to the patient why it is different and what it will mean to them when you re-insert the denture later that day.


No comments:
Post a Comment